Data store
Modified on Thu, 30 May, 2024 at 10:09 AM
Data stores allow you to store data from scenario or transfer data between individual scenarios or scenario runs. You can use data stores to store data from apps during scenario execution. Data stores are similar to a simple database.
The data store app's modules allow you to add, replace, update, retrieve, delete, search, or count records in your Make data store.
You can view and manage your data stores and the data they contain in the data stores section of Make.
Note
The various examples of use can be found here.
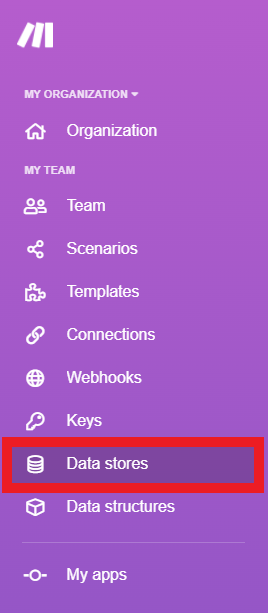
Click Data stores in the left menu.
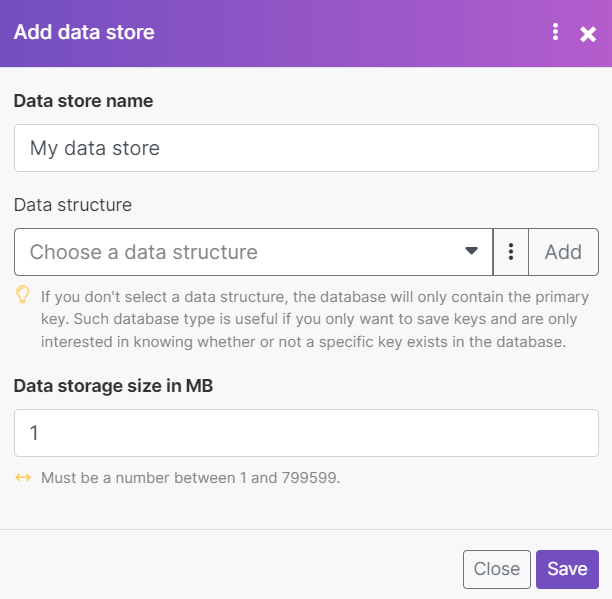
Click Add data store.
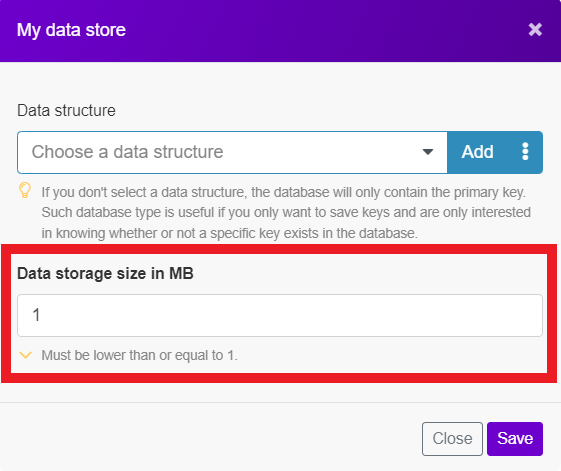
Enter settings for the new data store.
Data store name | Enter the name for the data store. E.g. Contacts |
Data Structure | A data structure is a list of the columns for a table that indicates the column name and data type. You have three options:
Please see the Setting Up the Data Structure section of this article. |
Data storage size in MB | Allocate the size for the data store from your total Internal data storage. NoteThe reserved amount can be changed at any time later on. The total internal data storage capacity depends on the plan you have purchased. |
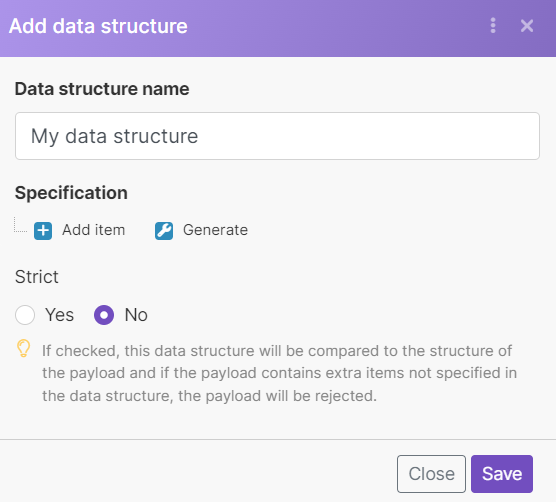
To set up the data structure, open the Add data structure window.
You can access this dialog by clicking the Add button when creating or editing the data store:
Data structure name | Enter the name for the data structure. The data structure name is its unique identifier and cannot be changed later. | |
Specification | There are two options for how you can specify the data store columns.
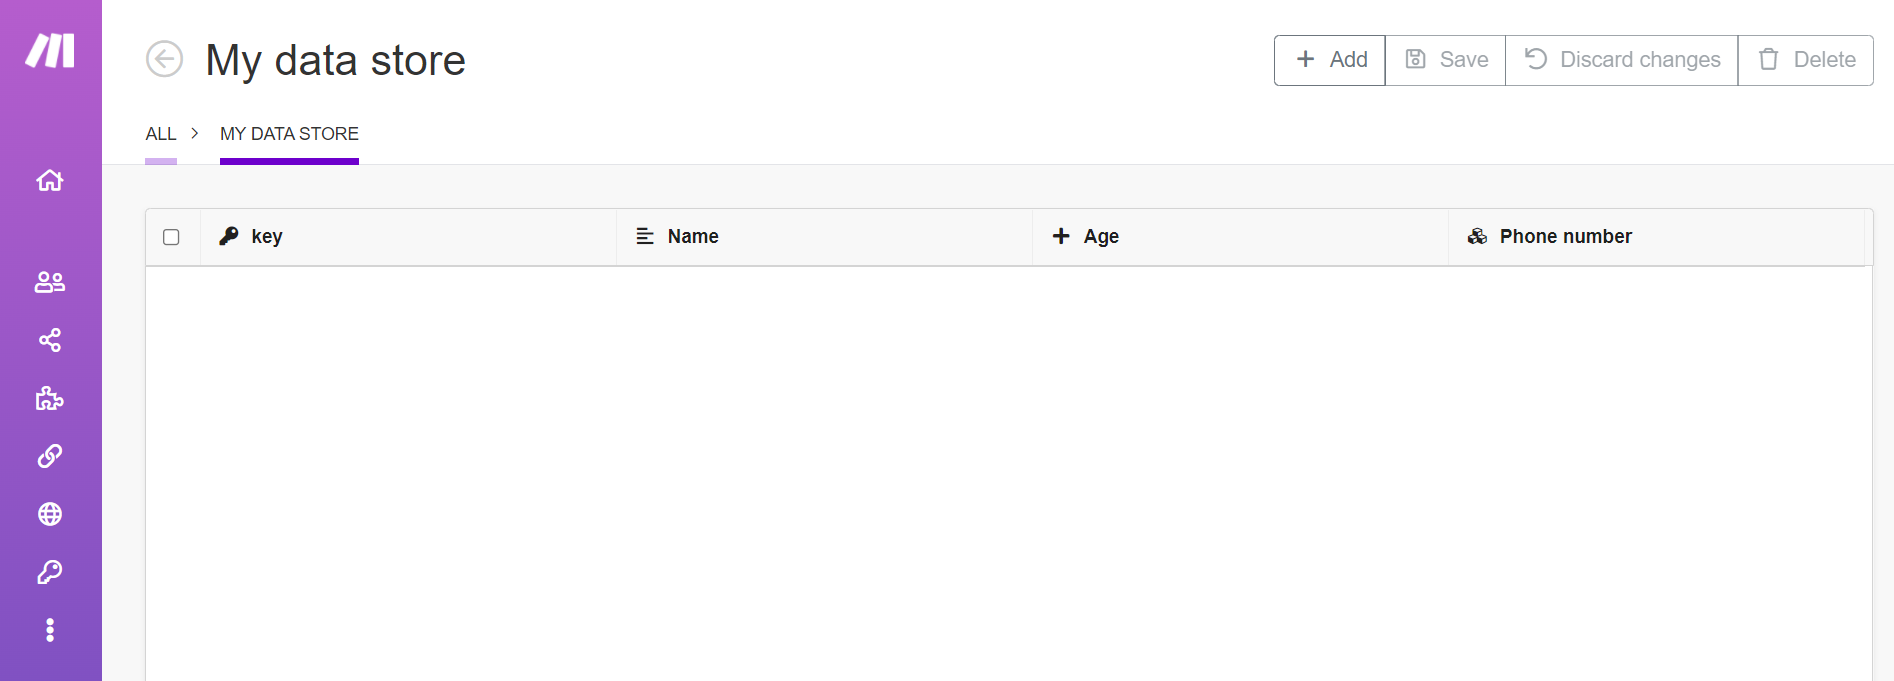
The empty columns in the data store view: You can then add values to the data store manually or using the Make data store modules. | |
Strict | If enabled, the data structure will be compared to the structure of the payload and if the payload contains extra items not specified in the data structure, the payload will be rejected. |
Important
Take good care when updating the data structure of a data store. Before updating the structure make a backup of the data in the data store.
Changes in the data structure of a data store might lead to unexpected results. If you experience unexpected behavior check out the Troubleshooting section.
When you want to update the data structure of a data store, you should keep in mind that:
The data structure field names are unique identifiers of the data store columns. When you rename a field of a data structure, Make cannot retrieve the original data in the data store column, because they use a different column identifier.
You can update the data structure field label anytime without the effects mentioned in the previous point.
The changes to the data store structure apply only to the new data you put in the data store. Make doesn't change or validate the original data to fit the updated structure.
The best approach to updating the data structure of a data store is to create temporary fields with copies of your data. Update the data in the temporary fields and make sure they conform to the final data structure.
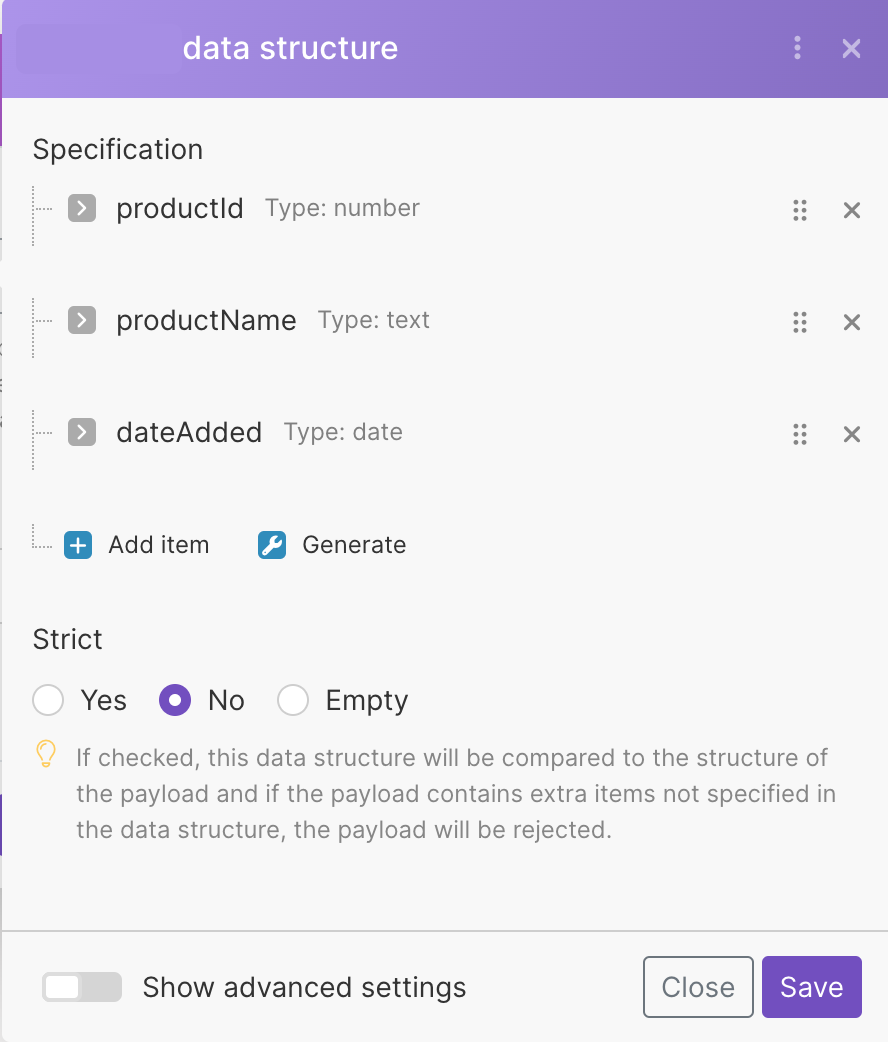
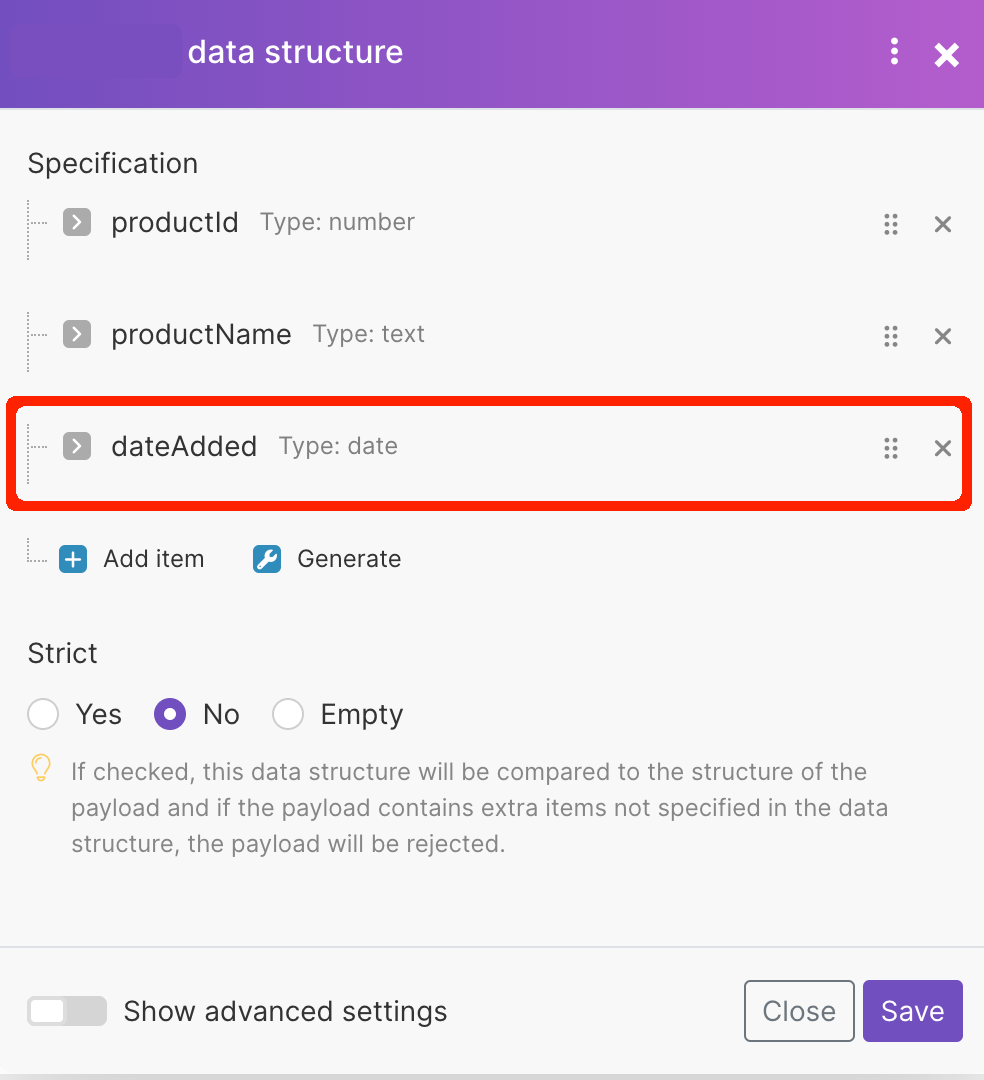
Example data store:
In the data store with 4 columns:
Key: type
numberproductId: type
numberproductName: type
textdateAdded: type
date
You can update the Label of a data store structure field anytime.
If you want to change the data store structure field Name, follow the steps:
Create a field in your data store with the new name.
Copy all data from the original column to the new column.
Update all data in the original column to empty fields. This step prevents storing the data in the original column alongside the data in the new column.
You have put the data from the original data store column into the new data store column. In addition, you have a data store backup to check that the update was successful.
Either create a temporary field for the updated data type, or you can skip this step and update the field type in place.
Use a conversion function to update the type of all values in the data store column to the new type. For example, to convert
texttodate, use theparseDatefunction.
You have updated the type of the data store column. You have converted all data in the data store column to the new data type.
Make allows you to view, update, and delete the records in your data store.
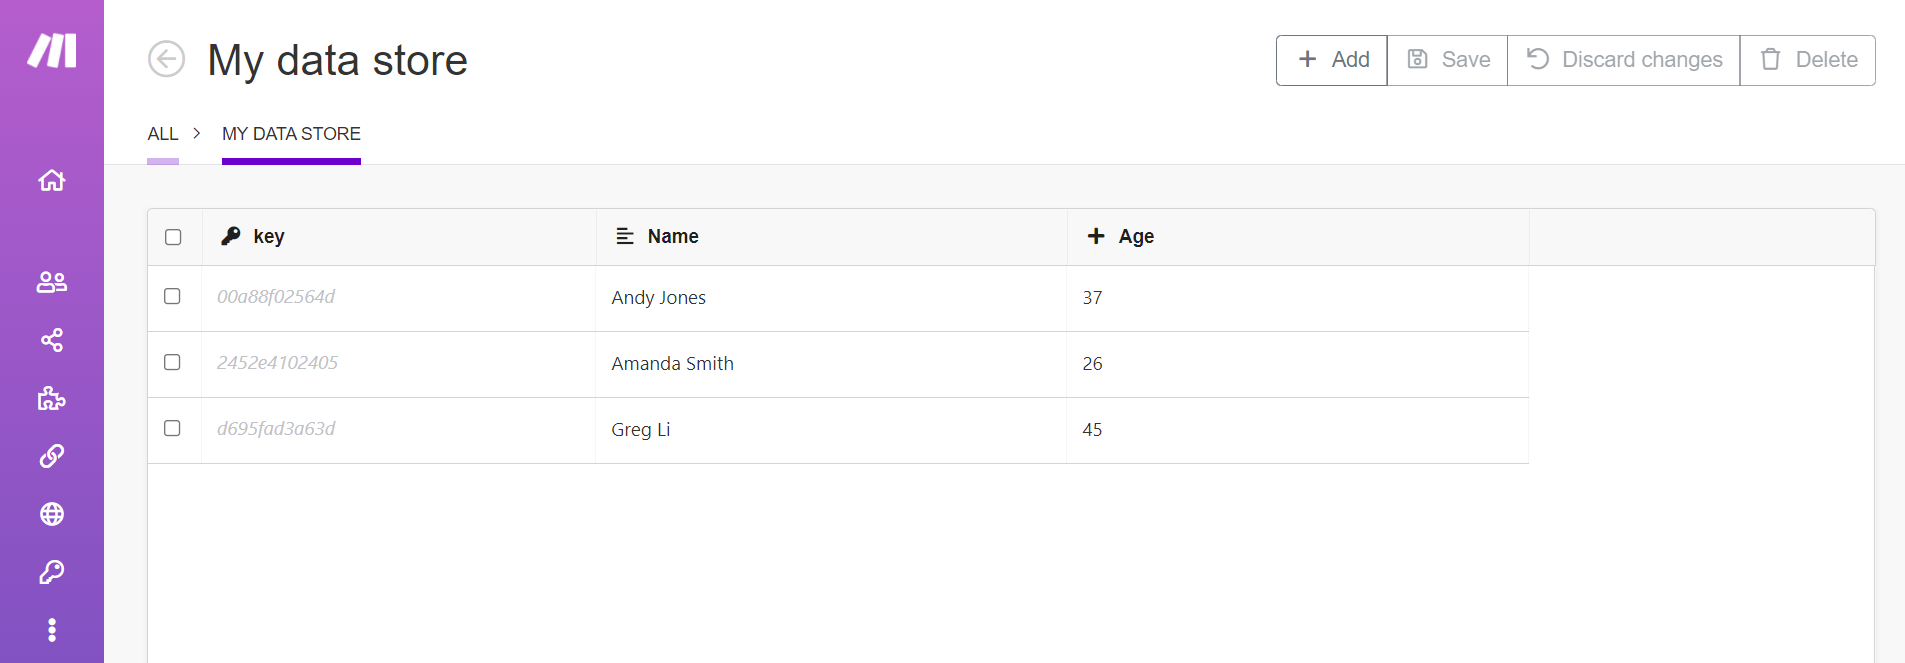
To manage records in your data store, click Data stores in the left menu, then click Browse next to your data store.
This shows the editing interface for data store records.
Adding and editing records
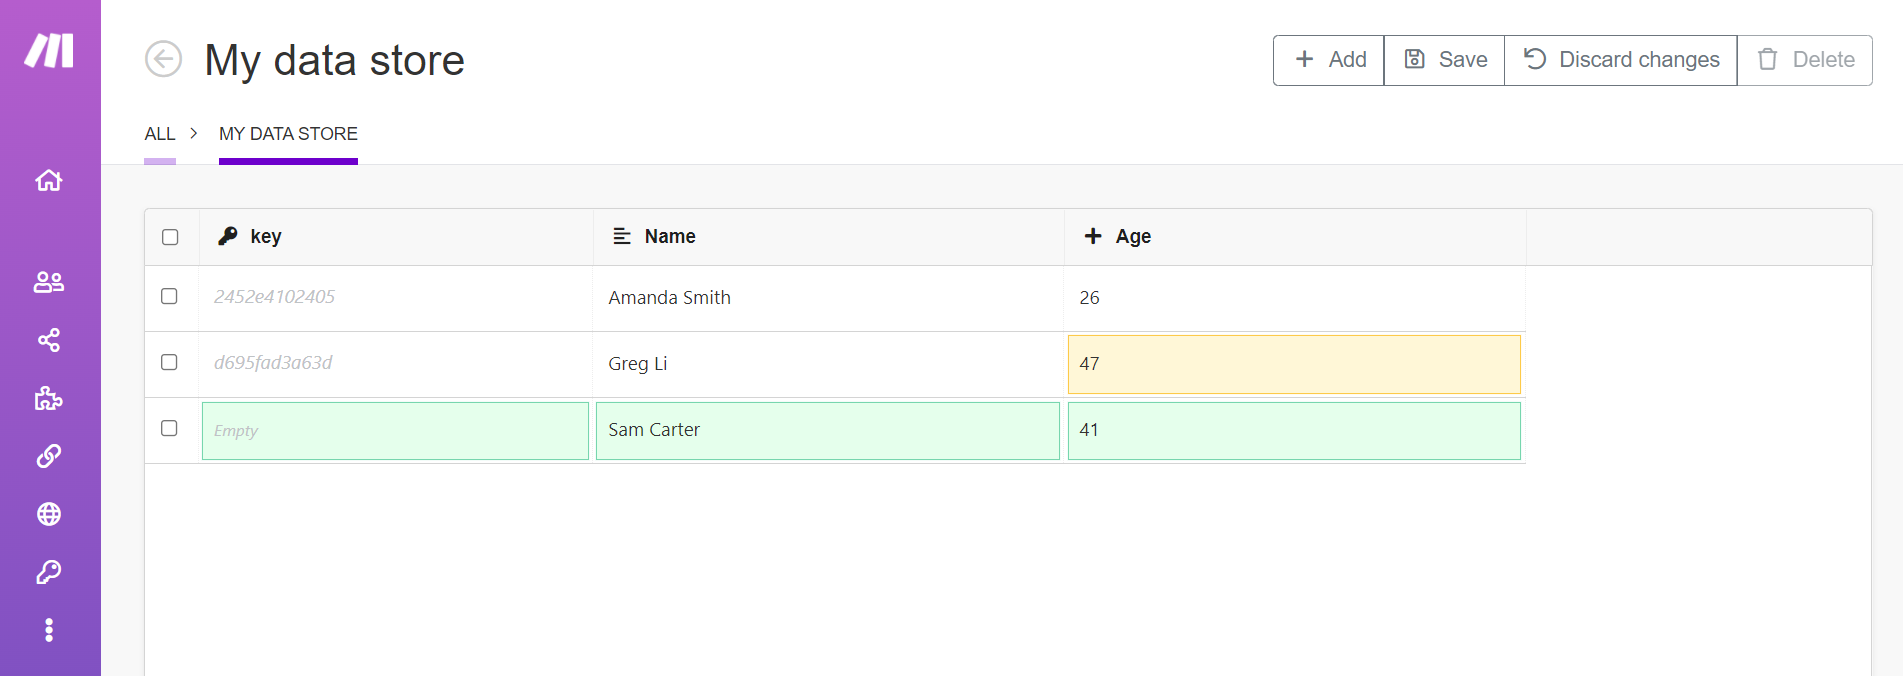
Click Add to add new records to the data store. You can add multiple records by clicking Add multiple times. Newly inserted records are highlighted in green.
Click an existing field to change it. Changed records are highlighted in yellow.
Click Save to save all your changes to the data store. Click Discard changes to throw away any changes you have made, including added records and edited records.
Note
You cannot use Discard changes to get back records that you have deleted.
Backing up data in the data store
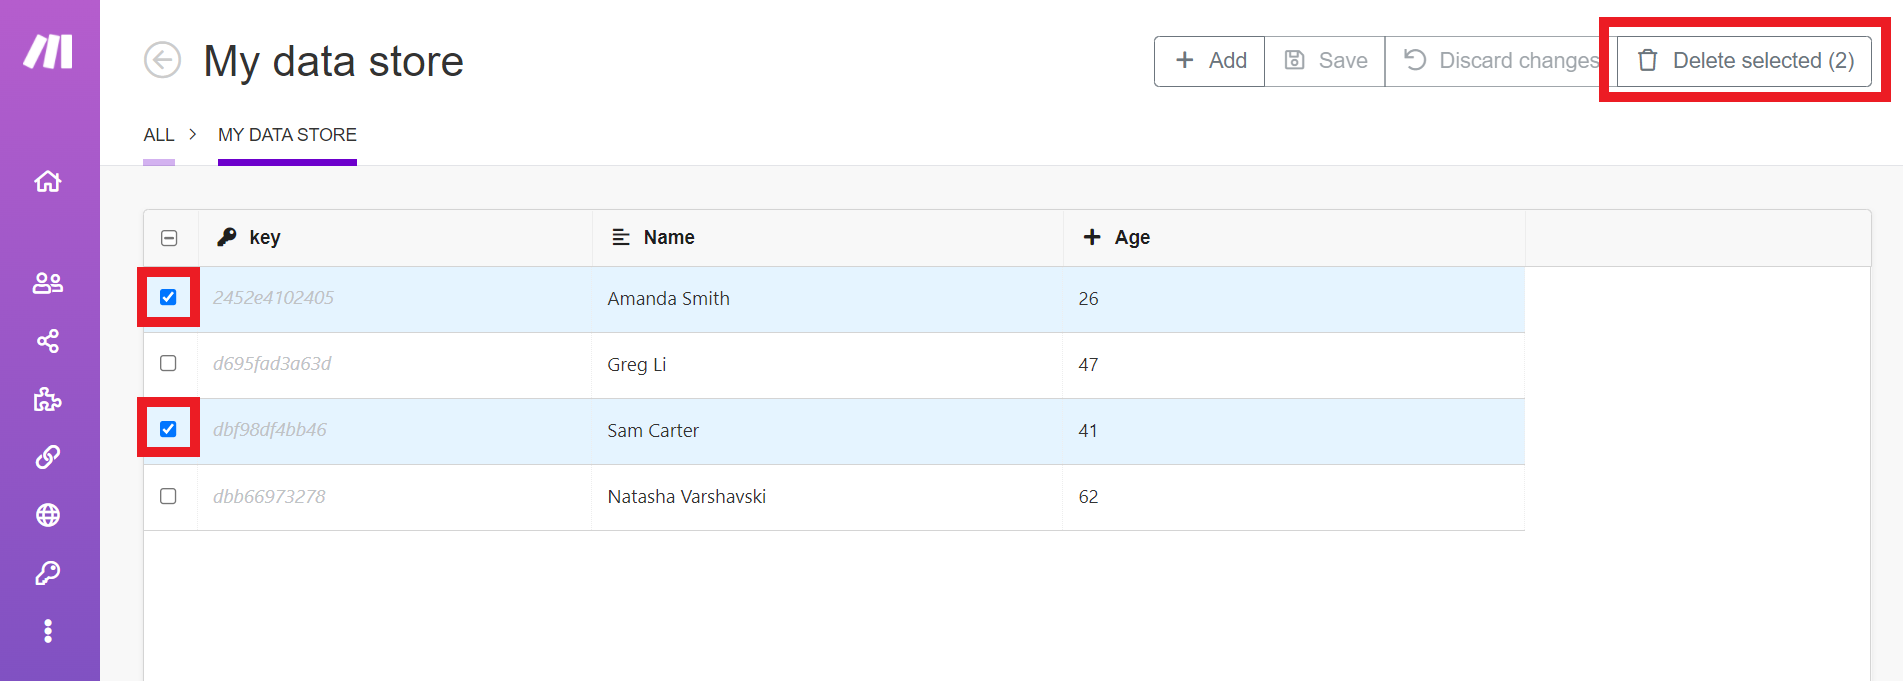
When you want to make large-scale changes in your data store, like deleting a high number of records or changing the data store structure, you should make a backup of your data first.
There are two options of how to backup the data in your data store with Make:
Create a Make scenario
Use the Make API.
In the following steps, we will focus on backing up your data with a Make scenario:
Clone the data structure of the original data store. Name the data structure to clearly show that it's for the backup data store.
Create a data store with the backup data structure. Name the data store to clearly show that it's a backup of your data.
Create a Make scenario. Name the scenario to clearly show that it's for backing up data in the data store.
Add the Data Store > Search Records module to the scenario. In the Data Store field, select the data store which contains the data you want to back up.
Add the Data Store > Add/Replace Record module to the scenario.
In the Data Store field, select the data store to which you want to back up your data.
Map all fields from the first module to the second module, including the
Keyfield.
Run the scenario.
The backup data store now contains all data from the original data store.
Note
You can reduce the number of operations by using the Text Aggregator and CSV or SQL-processing tools and apps.
Restoring lost data from your data store
There is no automated process to restore lost values in your data stores. However, there is a manual approach that you can use to fix the issue.
To locate and restore the missing data, follow these steps:
Open the specific scenario where the missing items were stored.
Review the execution history and identify the instances where items were inserted into the data store.
Copy the identified missing data into your data store.
Updating data store structure
Caution
Before updating the data structure of a data store, make a backup of your data.
There are two challenges that occur when you update the data structure of a data store:
When you rename a field of the data structure, the data in the field becomes inaccessible.
When you change the type of a field in a data structure, the original data keeps the original data type and the new data has the new type.
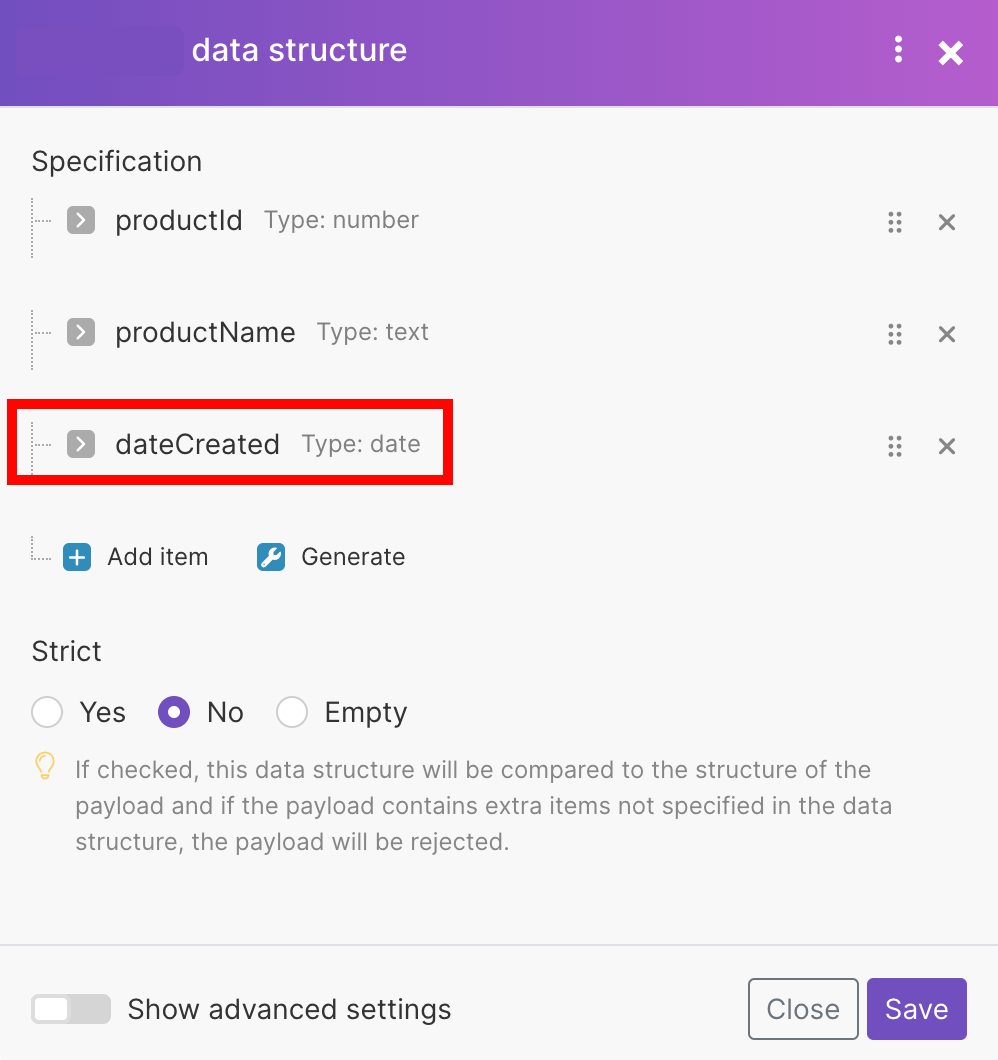
When you rename a field in the structure of a data store, the data in the data store becomes inaccessible.
Before the data structure field update:
After the data structure field update:
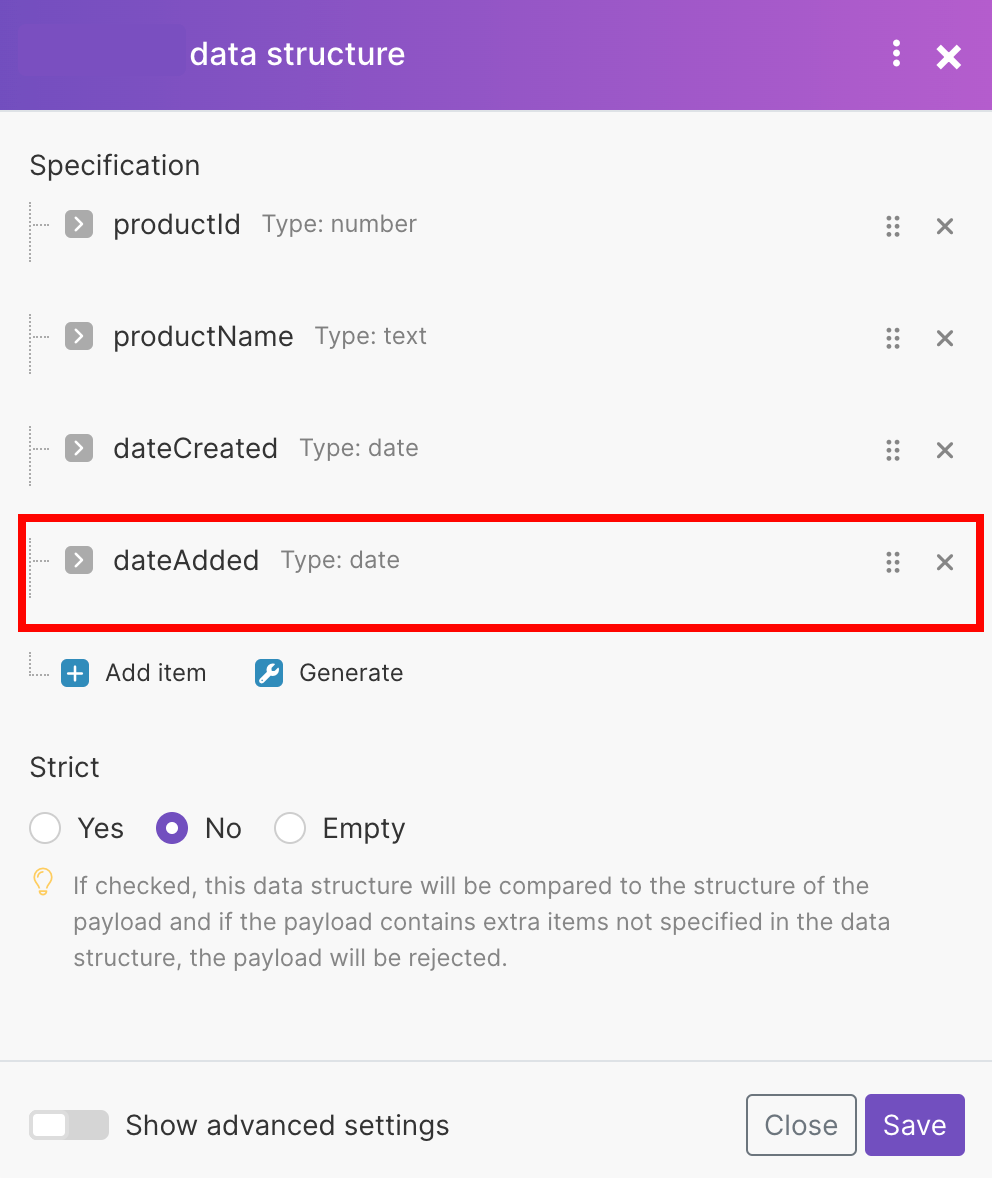
If you want to access the data again, add a field to the data store structure with the original field name:
With the data in the original field accessible again, you can follow the steps to update the data store structure.
Out of space error
The reason you are getting a message that states that you are out of space is because you currently have a datastore that has already been assigned your allocated datastore storage.
Please edit any of your existing data stores to free up space.
Click Edit.
Reduce the data storage size.
You can now add a new data store.
Caution
Make sure that while creating a new data store you do not assign all of your space to only one record unless you need it.
Was this article helpful?
That’s Great!
Thank you for your feedback
Sorry! We couldn't be helpful
Thank you for your feedback
Feedback sent
We appreciate your effort and will try to fix the article
